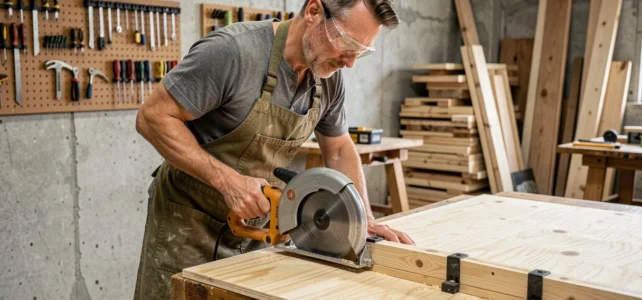
A cut that deviates by a few millimeters on a melamine panel, and the edge no longer aligns, the joint gapes, or the assembly is forced. The circular saw has the power and speed to cut large pieces of wood, but it does not forgive guiding approximations. Understanding what causes these deviations allows for corrections even before the blade starts rotating.
Blade depth adjustment: the parameter that most DIYers overlook
Have you ever noticed that the cut seems cleaner on a thin board than on a thick panel? The blade depth plays a significant role. Recent safety guides (Makute, TheToolsTrunk) remind us of an often underestimated principle: the more the blade protrudes beneath the piece, the greater the risk of deviation.
A blade that is too far out generates more vibrations and amplifies the pinching phenomenon in the cut line. The wood closes the passage behind the blade, rubs against it laterally, and pushes the tool off its trajectory. On a long cut (a plywood panel, for example), these micro-deviations accumulate.
The correct adjustment: the blade should only protrude beneath the piece by a few millimeters, just enough for the teeth to pass through the material. This slight protrusion reduces the contact surface between the blade and the wood, limits friction, and stabilizes the trajectory. Before each cut, unplug the machine, turn it over, and adjust the depth by placing the base on the piece. Checking the blade depth with each change in thickness should become a reflex.
To delve deeper into this adjustment and other factors that influence the straightness of the cut, a detailed guide explains how to cut straight with a circular saw from preparation to the end of the cut.
Body position and grip: cutting straight starts before the blade
The straightness of a cut does not depend solely on the guide or the blade. The way you hold the machine and how you position yourself relative to the cut line plays a direct role in the stability of the movement.
Shifting from the cutting axis
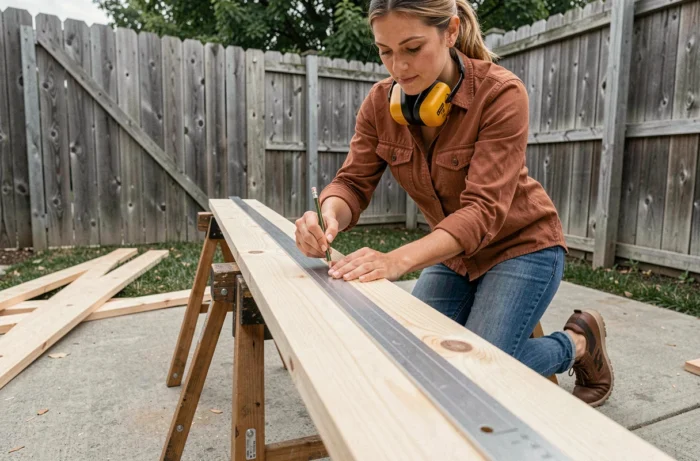
The 2026 safety recommendations emphasize a point that concerns both precision and protection: position yourself slightly to the side of the cut line, not directly behind the blade. This lateral position is not just a precaution against kickback. It allows you to push the saw in a natural axis, without the dominant arm crossing the cutting plane.
When positioned on the axis, the body tends to compensate for vibrations with small involuntary lateral movements. Shifted to the side (on the side of the dominant hand), the forearm guides the saw in a straight line, much like pushing a cart down a hallway.
Two-handed grip and feed speed
The second hand on the auxiliary handle is not just there to “hold tighter.” It stabilizes the base against the piece and prevents the tool from pivoting. A steady, smooth forward movement allows the blade to work at its own pace. Forcing the feed causes a lateral bending of the blade, even minimal, which results in a curved cut.
A slow and constant feed produces a straighter line than a quick push, because the blade removes chips without constraint. If you feel unusual resistance, it often indicates that the depth is incorrectly set or that the blade lacks teeth for the material.
Circular saw cutting guide: making a reliable rail with two boards
The parallel guide that comes with most circular saws works for narrow cuts (ripping a board a few centimeters from the edge). For cuts in the middle of a panel or more than fifteen centimeters from the edge, it becomes unstable. A homemade rail solves the problem without investing in an industrial rail.
The principle is simple: a thin strip of plywood (about five millimeters thick) glued to a wider strip acts as a stop. The saw’s base slides against the thin strip, and the edge of the wide strip, previously cut by the saw itself, provides the exact cut line. No offset calculations, no measuring the base-blade distance.
Here are the points to follow to ensure the rail remains reliable over time:
- Use stable plywood (preferably birch) rather than MDF, which wears quickly on the edges and loses its straightness after a few uses.
- Glue the guide strip with wood glue and temporarily secure it with clamps, then let it dry flat on a level surface to avoid warping.
- Run the saw once along the guide strip to trim the edge of the rail: this trimmed edge corresponds exactly to the cut line, regardless of the blade mounted.
- Secure the rail to the piece with clamps, checking the alignment at both ends. A poorly clamped rail at one end creates a fanning effect along its entire length.
A well-built homemade rail provides precision comparable to an industrial rail for a fraction of the cost. The only limitation: you need to make a new one if you change saws, as the base-blade offset varies from model to model.
Choosing the blade according to the material: direct impact on straightness
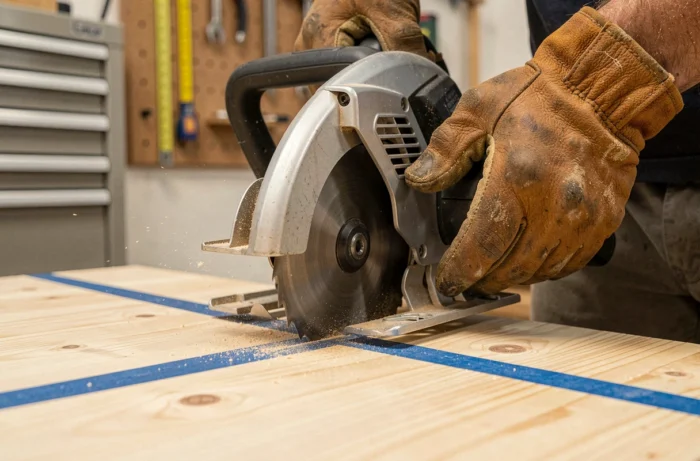
An unsuitable blade not only cuts poorly, it deviates. The number of teeth, their geometry, and their condition determine the blade’s ability to follow a straight line.
- For solid wood in ripping (cutting along the grain), a blade with few teeth and alternating teeth quickly removes chips. The cutting effort remains low, the blade does not heat up and does not flex.
- For panels (plywood, melamine, MDF), a blade with many teeth reduces splintering and maintains a clean cut. Alternating trapezoidal teeth work well on these materials.
- For hard or thick wood, a worn blade is the primary cause of deviation. Dull teeth force the user to push harder, which amplifies lateral movements.
Replacing a worn blade often corrects a cutting problem that was attributed to the guide or technique. Run a finger (machine unplugged) along the edge of the teeth: if they seem rounded or if you see shiny reflections on the tips, it’s time to change.
The straightness of a cut with a circular saw relies on these few adjustments and combined habits. None of them require expensive equipment, but each eliminates a cause of deviation. The next time your cut goes off track, check the blade depth before blaming your hand.