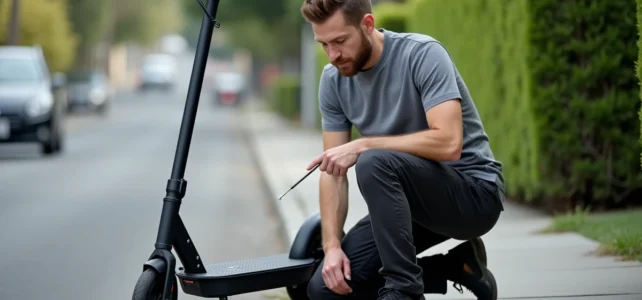
The Urban Glide 140 scooter shares its electrical components with most entry-level EDPM models, but the location of each fault varies according to the architecture specific to this model. Identifying the faulty component before intervening helps avoid unnecessary replacements and, most importantly, does not compromise the vehicle’s regulatory compliance.
Battery voltage and charger status: the first diagnosis to conduct
In the majority of faults reported by users of the Urban Glide 140, the power circuit is at fault. The usual reflex is to plug in the charger and wait for the green light, but this light does not guarantee that the battery reaches its nominal voltage.
For a reliable diagnosis, a multimeter placed at the battery terminals remains the only tool that makes the distinction. If the measured voltage is significantly lower than the nominal value indicated in the manual, the battery is at the end of its life or one cell is faulty. If the voltage is correct, the problem lies downstream (controller, cable, motor).
A detailed guide lists Urban Glide 140 issues on Format Sport and ranks symptoms by frequency.
| Observed symptom | Probable component | Priority check |
|---|---|---|
| No ignition, screen off | Battery or charger | Measure the voltage at the battery terminals |
| Normal ignition, no propulsion | Controller or throttle | Check the cable between throttle and controller |
| Intermittent cuts while riding | Connector or Hall sensor | Inspect each connector for signs of oxidation |
| Error code displayed on the screen | Variable depending on the code | Cross-reference the code with the manufacturer’s documentation |
| Ineffective brake or abnormal noise | Brake cable or pad | Adjust cable tension, check for wear |
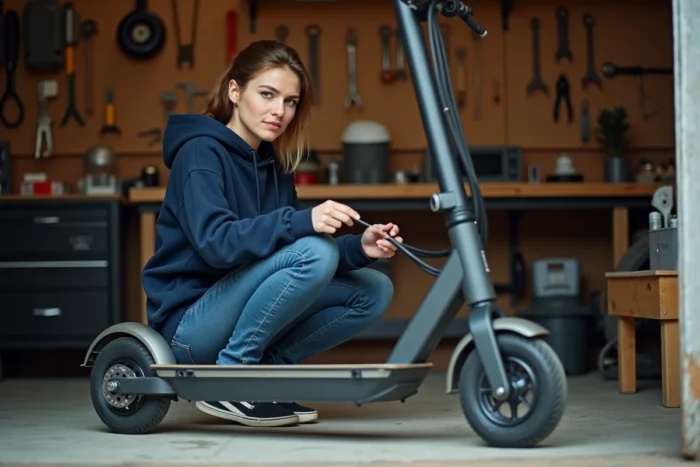
Motor failure and Hall sensor on the Urban Glide 140
When the scooter turns on but refuses to move, the controller or motor are the main suspects. A motor that turns freely by hand without resistance usually indicates an electronic problem rather than a mechanical one.
The Hall sensors, integrated into the motor, transmit the rotor’s position to the controller. Their failure causes erratic behavior: jerky accelerations, vibrations at low speed, or complete refusal to start. On the Urban Glide 140, these sensors are soldered into the stator, making their replacement tricky without the right tools.
How to isolate a faulty Hall sensor
- Disconnect the motor connector and measure the continuity of each sensor wire (usually three thin wires, distinct from the power phases). A lack of signal on one of the three confirms the fault.
- Manually spin the wheel while observing the voltage variation on each sensor wire with a multimeter. A functional sensor produces an oscillating signal, a dead sensor remains static.
- If all three sensors respond normally, the controller is likely at fault. Replacing the controller before the motor avoids unnecessary expense, as the controller is less costly.
On the other hand, if the motor shows abnormal mechanical resistance or a rubbing noise, the problem is physical: worn bearing or detached magnet. This type of intervention requires opening the hub, an operation that exceeds routine repair.
Throttle and connectivity: the sneaky faults
The Hall effect throttle of the Urban Glide 140 is a fragile component. A fall, prolonged exposure to moisture, or simply cable wear is enough to cause an invisible fault: the scooter turns on normally but does not respond to acceleration.
To check, you need to measure the output voltage of the throttle. At rest, the signal should display a stable low value. When gradually pulling the trigger, the voltage should rise linearly. An erratic or absent signal indicates the throttle as the culprit.
Connectivity issue or bad contact
The connectors of the Urban Glide 140 are exposed to water splashes despite the vehicle’s waterproof rating. Oxidation of a single connector can simulate a motor or controller fault. Before replacing any parts, disconnecting and reconnecting each connector while visually inspecting the pins is a step that resolves a surprisingly high number of faults.
If a connector is oxidized, cleaning with isopropyl alcohol and thorough drying is sufficient in most cases. Then applying a thin layer of dielectric grease limits recurrence.
EDPM regulations and limits of home repair
Electric scooters are part of the EDPM and must remain limited to 25 km/h. Any modification of the controller or firmware aimed at increasing the maximum speed renders the vehicle non-compliant and exposes the user to penalties.
This constraint has a direct consequence on troubleshooting: if a performance fault (speed capped below normal, sluggish acceleration) prompts a reconfiguration of the controller, the line between legitimate repair and illegal derestriction is thin. Restoring factory settings remains the only legal intervention on the controller.
Moreover, an improvised repair on brakes, lighting, or steering can pose an insurance problem. In the event of an accident, a modified or improperly repaired vehicle may lead to a refusal of coverage by the insurer. For interventions affecting the vehicle’s active safety (brakes, steering, lighting), going through a specialized workshop protects both the user and their coverage.
A methodical diagnosis by component, battery then controller then motor then throttle, remains the most economical way to identify a fault on the Urban Glide 140. A multimeter and a visual inspection of the connectors resolve the majority of cases without part replacement.